In this tutorial, we will see how to secure your Dash multi-page app using the basic authentication mechanism in dash-auth.
It’s the natural continuation of the previous tutorial: How to secure a Dash app with dash-auth, where you can learn how to use dash-auth, connect to a database, and display the username.
Let’s go!
Dash-auth
If you haven’t yet, install dash and dash-auth:
pip install dash dash-auth
Then, create three files and one folder:
app.py: the main app filepages/public.py: the publicly accessible page at URL “/”pages/private.py: the private page at URL “/private”
app.py
This file will be very similar to what we had in the previous tutorial. The list of users is hardcoded at the beginning of the file:
from dash import Dash, html, dcc, page_container
import dash_auth

# Note: better store the list in a secrets file or in a database.
USERS = {
    "alice": "secret123",
    "bob": "pa$$w0rd"
}

# Create the Dash app
app = Dash(
    __name__,
    use_pages=True,
    suppress_callback_exceptions=True
)

# Add authentication
auth = dash_auth.BasicAuth(
    app,
    username_password_list=USERS,
    secret_key="something_like_nUGz8DZvb...",
    # Public routes are not protected by authentication.
    # All others are protected by default
    public_routes=["/"]
)

# Define the layout
app.layout = html.Div([
    html.H1("My app"),
    html.P(dcc.Link("Public page", href="/")),
    html.P(dcc.Link("Private page", href="/private")),
    html.Hr(),
    page_container
])

if __name__ == '__main__':
    app.run(debug=True)
There are two key differences:
- We use pages for the Dash app (
use_pages=Trueandsuppress_callback_exceptions=True) - We define the public pages in Dash-auth using
public_routes.
Then, the layout shows two links to the two pages and the page content (using page_container).
pages/public.py
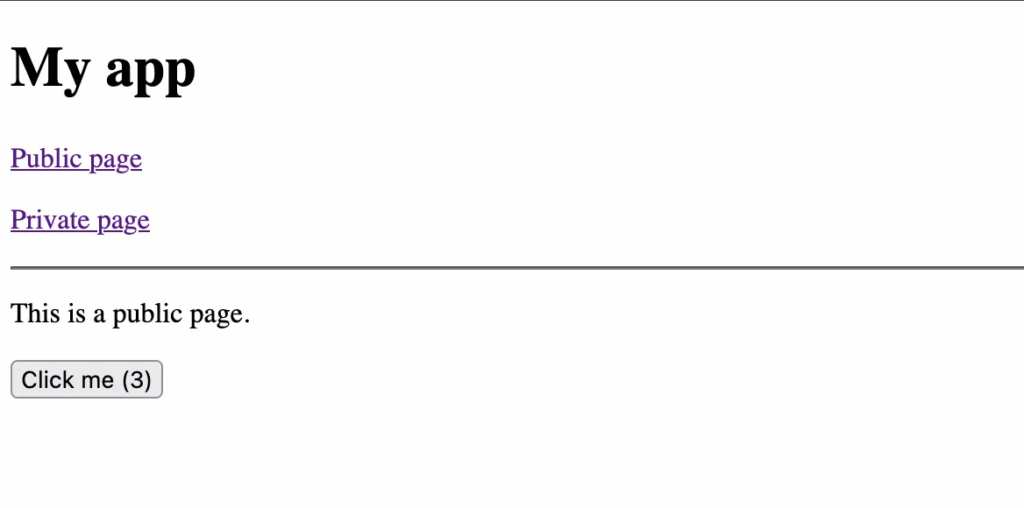
The public page will contain a button that increments itself when clicked:
from dash import html, dcc, register_page, callback, Output, Input
from dash_auth import public_callback

# The public page is the home
register_page(
    __name__,
    "/",
)

# The page layout
def layout():
    return html.Div([
        html.P("This is a public page."),
        html.Button("Click me (0)", id="button", n_clicks=0)
    ])

# A simple public callback
@public_callback(
    Output("button", "children"),
    Input("button", "n_clicks"),
)
def update_button(n_clicks):
    return f"Click me ({n_clicks})"
The only key change here is the use of public_callback (from dash-auth) instead of callback.

By default, all callbacks use the same URL endpoint: /dash-update-component. This is why we need to specify that this callback is public, while others are protected by default as soon as we add dash-auth to the app.
Under the hood, the callback ID is simply added to a list of whitelisted callbacks in the Flask server’s config.
pages/private.py
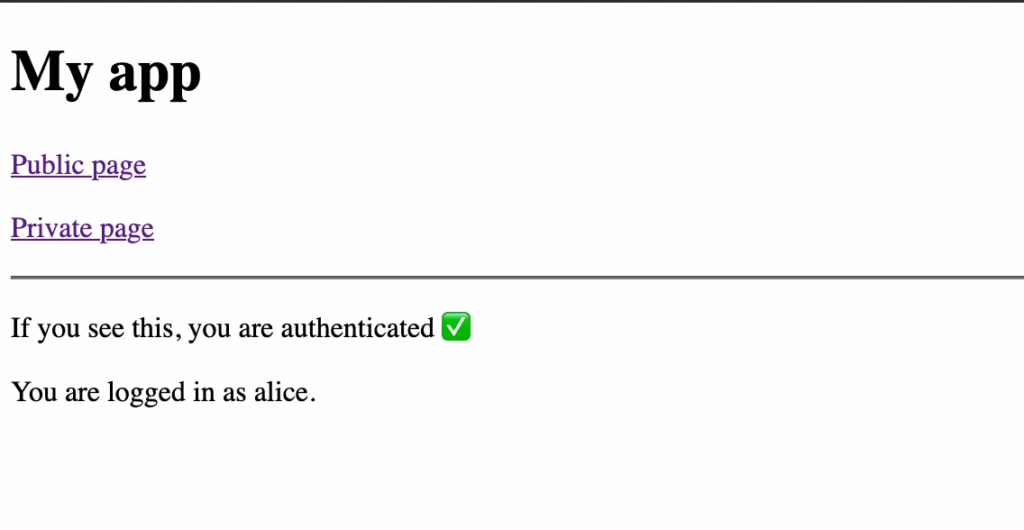
The private page will only show the username using a layout function:
from dash import html, register_page
import flask

register_page(
    __name__,
    "/private",
)

def layout():
    username = flask.session.get("user").get("email")

    return html.Div([
        html.P("If you see this, you are authenticated ✅"),
        html.P(f"You are logged in as {username}.")
    ])

dash-auth saves the current username in a flask cookie, so we can get easily get it in the layout function, or within a callback.
Result
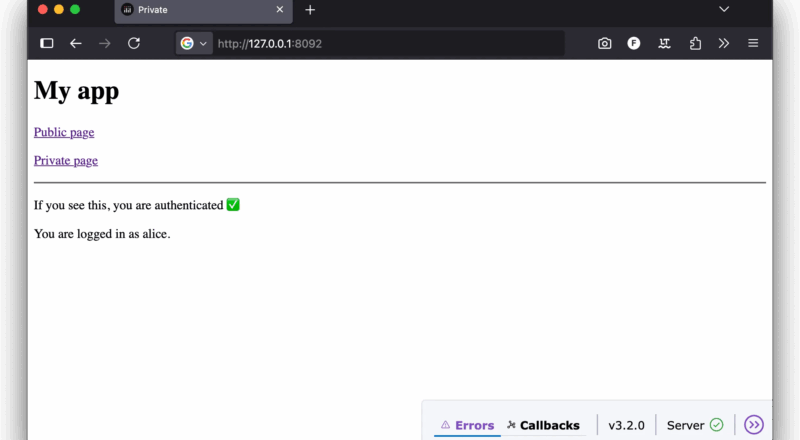
Now let’s run this app!
Here is a little video of what it looks like:
⚠️ Note that once we’re logged in, we can’t log out manually. The browser must be closed instead.
Conclusion
I hope this tutorial was instructive! I found it interesting that dash-auth evolved to secure multi-page apps as well, which I didn’t know until writing these two tutorials 🙂
As with the previous tutorial, the conclusion is similar: dash-auth has its drawbacks, but it’s a fairly easy solution to add an authentication layer to a dashboard or a data app. However, I would not recommend using it for production apps that have very sensitive data.
If you need proper login/logout behavior (e.g., session expiration, multiple users switching), you’ll need a more advanced system such as:
flask_login- OAuth (Google, GitHub…)
- Enterprise identity providers (Okta, Auth0, Azure AD…)
- Dash-Enterprise (handles LDAP, SAML, OIDC)
Happy Dash coding!


